 MRPverse
Connect your Shopify store
Orders start flowing into MRPverse within a minute, and fulfilled orders close themselves.
Two-minute video
A narrated walkthrough of this exact guide. Recording in progress; the script is final and matches the steps below.
Step 1
Open Integrations
In the sidebar go to Settings → Integrations. The Shopify card shows Not connected on a fresh account.
Click path:
Settings → Integrations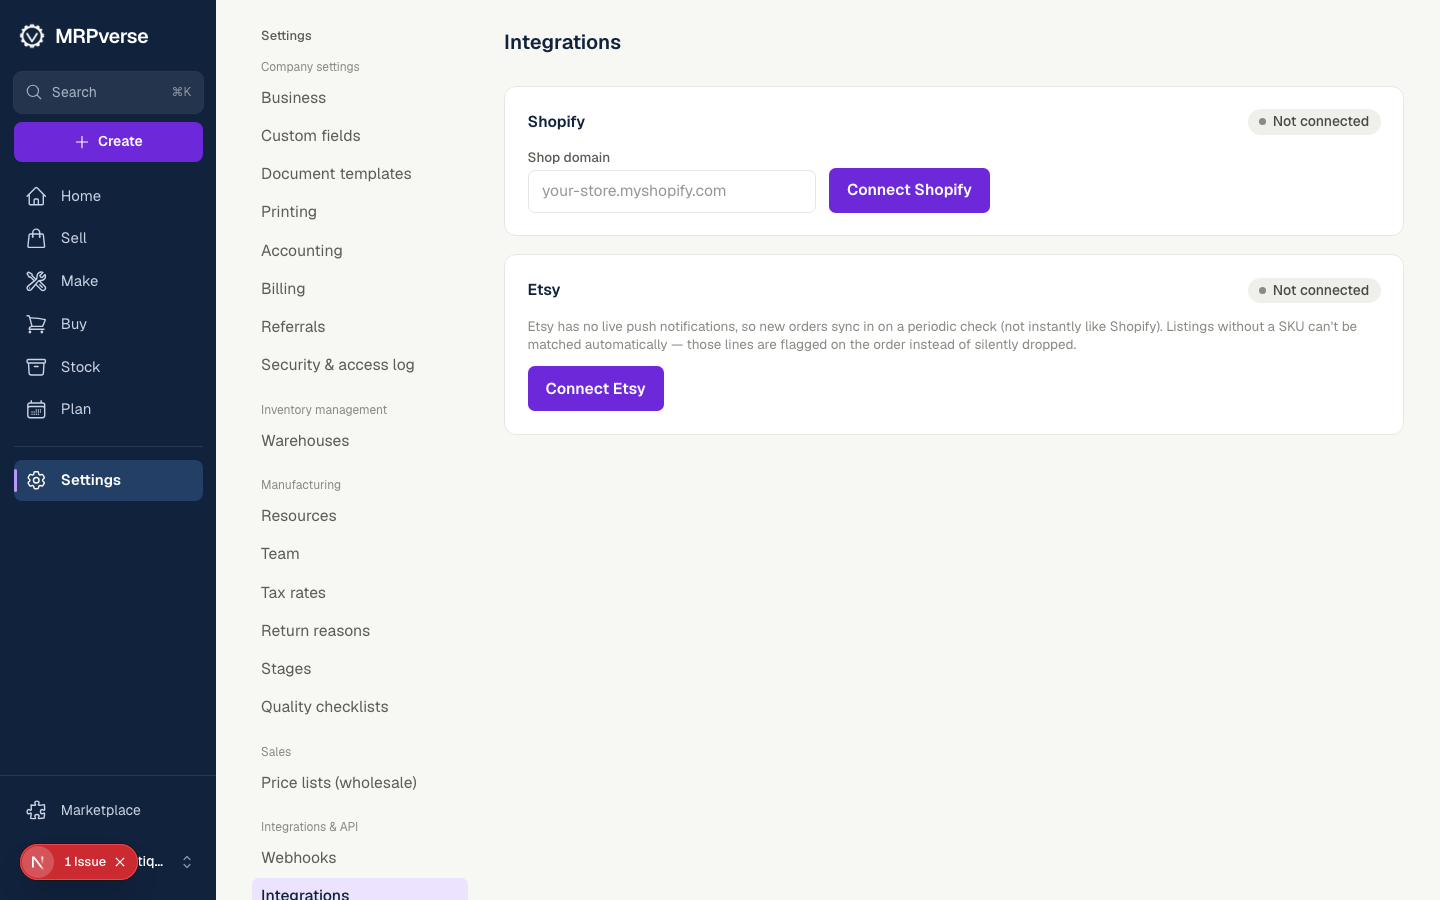
Step 2
Enter your shop domain
Type your store's myshopify domain (your-store.myshopify.com) and click Connect. You are sent to Shopify to approve the app, then returned here.
Click path:
Settings → Integrations → Shopify → ConnectStep 3
Preview the first sync
Before anything is written, MRPverse shows what it found: products, variants with SKUs, and open orders. Nothing changes until you confirm.
Click path:
Settings → Integrations → Shopify → Preview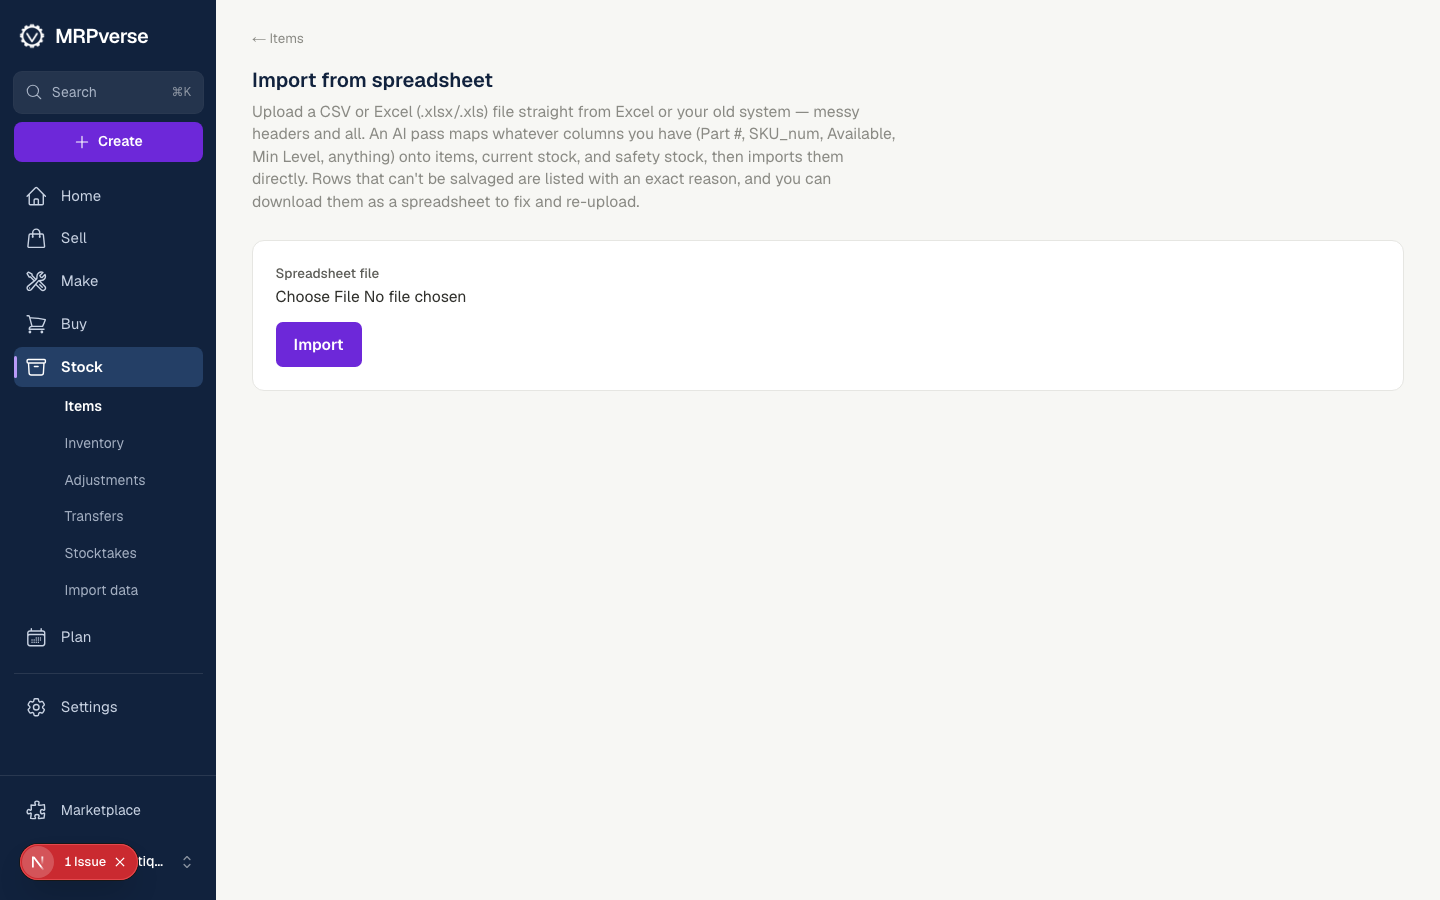
Step 4
Match SKUs to items
Variants are matched by SKU to your items. Unmatched variants are listed so you can create the item or fix the SKU. Products you make get a recipe in the next guide.
Click path:
Items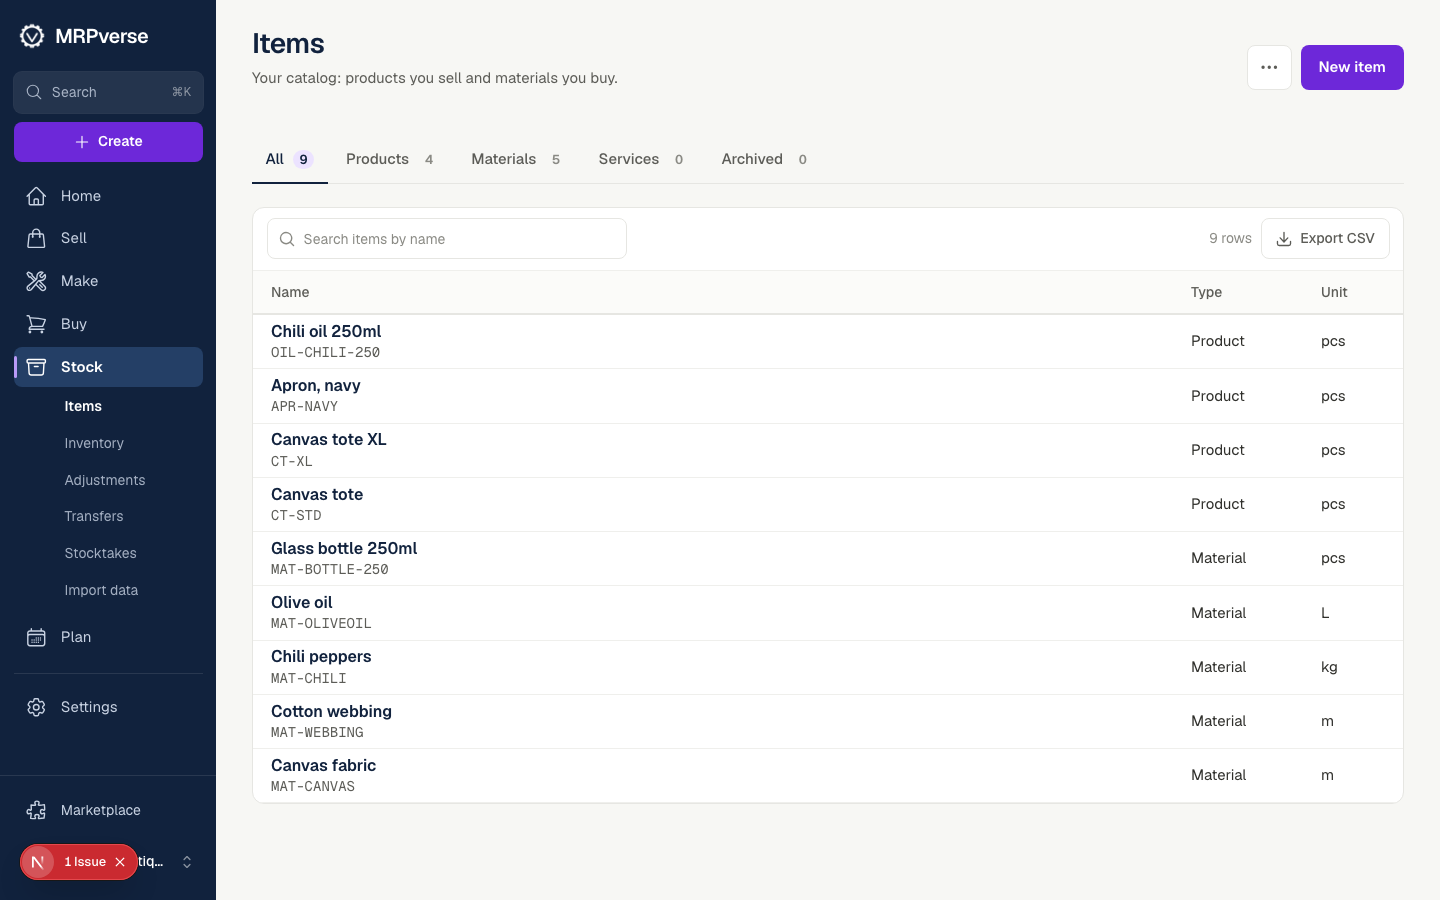
Step 5
Watch orders arrive
Place a test order in your store. Within a minute it appears under Sell → Sales orders with its source marked Shopify. Fulfill it in Shopify and it closes here automatically.
Click path:
Sell → Sales orders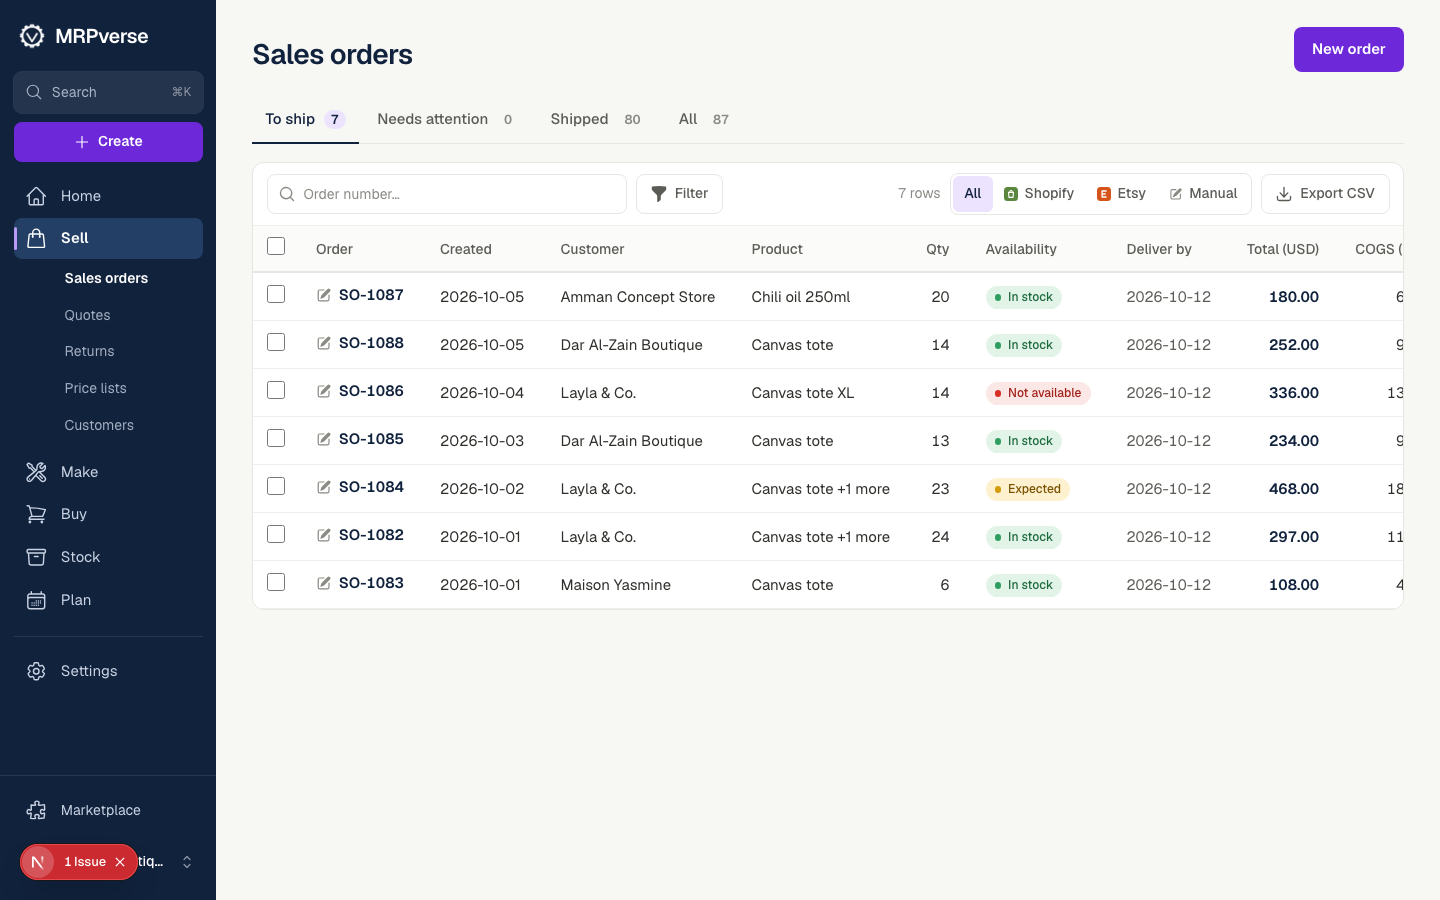
Step 6
Check the sync log
Every stock change caused by a sync is written to the ledger with its source. If a sync ever stops, an alert appears on the dashboard.
Click path:
Dashboard → Alerts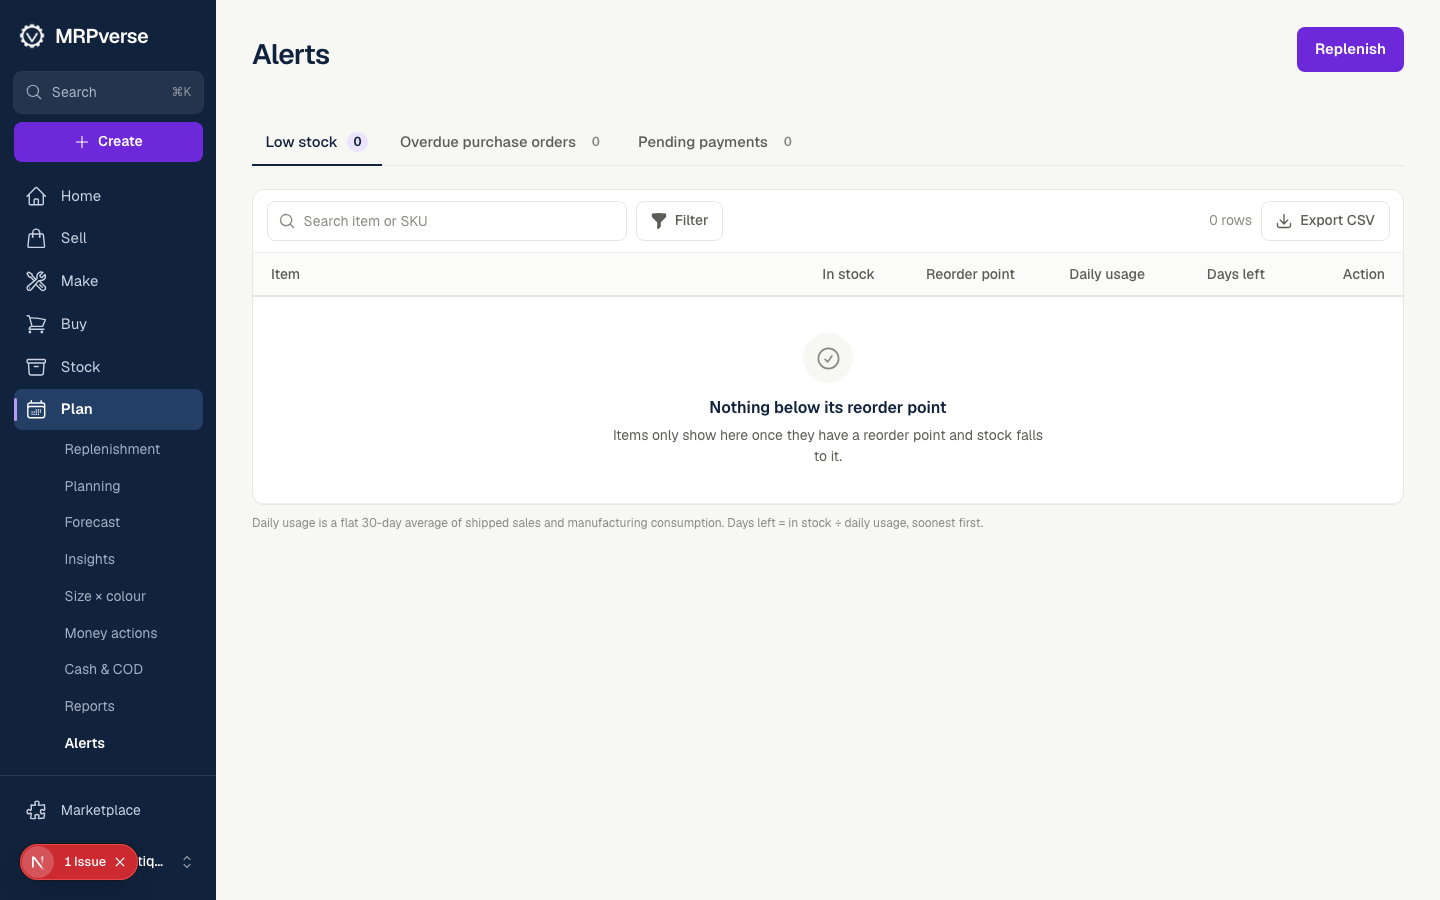
Tip